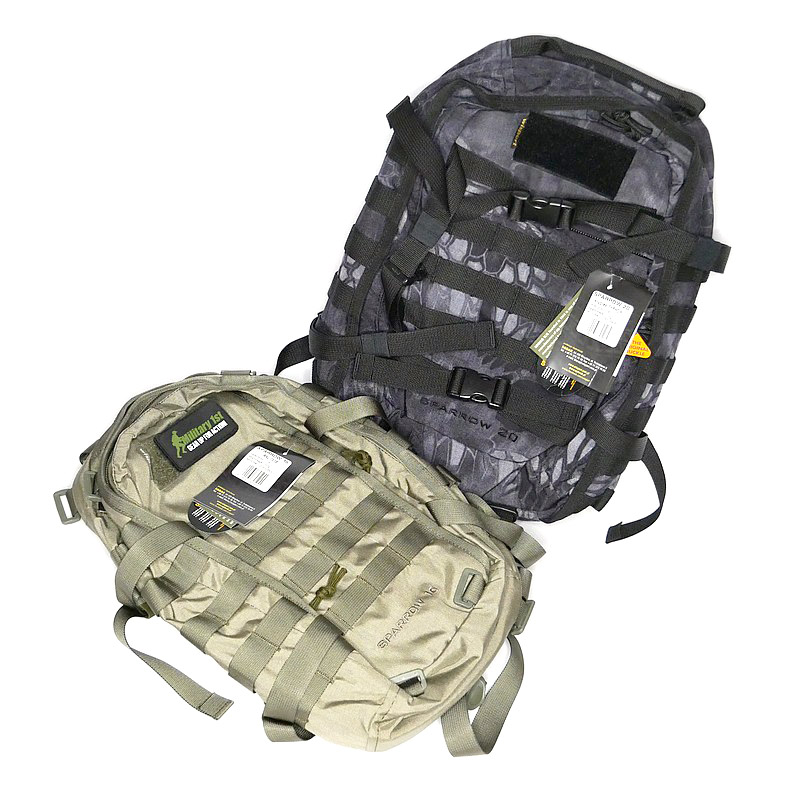
Wisport Sparrow 16 and 20 Rucksacks

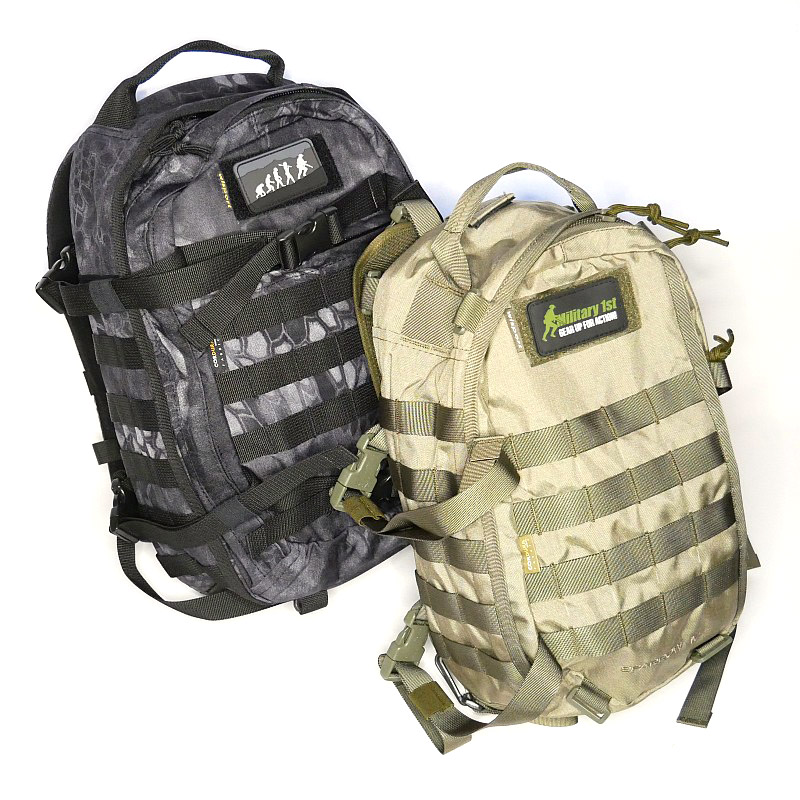
Inspired by a project to assemble an urban emergency grab-bag / evac-bag / bug-out-bag / go-kit using a maximum 20l rucksack, I chose the Wisport (from Military 1st) Sparrow 16 and 20 rucksacks. This review is to take a detailed look at these bags and their features. As well as the photo galleries there is also a video showing the features of each bag. (Keep an eye out for the emergency bag article, or subscribe for updates to make sure you get notified.)
Diving into the details:
Starting with the smaller Sparrow 16 and the images are split into three galleries to cover the main external features, carry strap details, and the bag’s compartments.
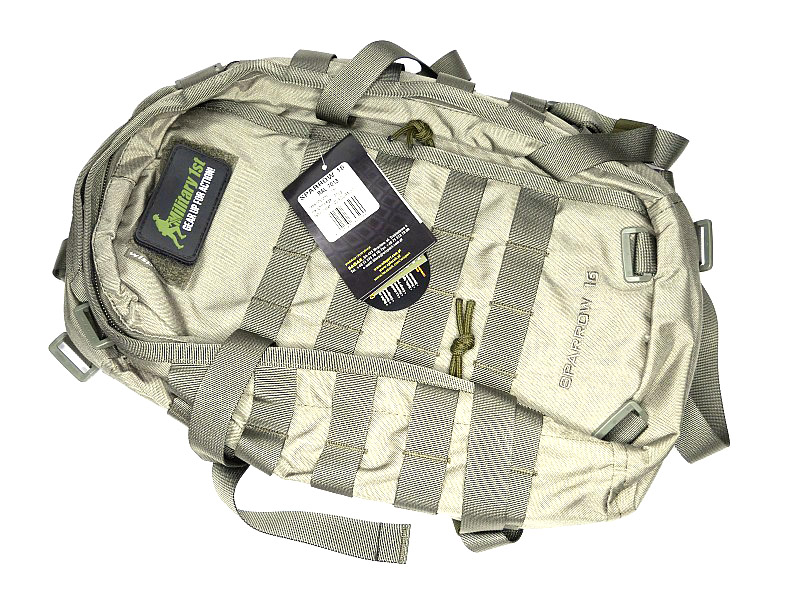
External features:
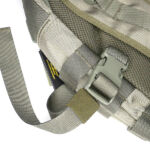
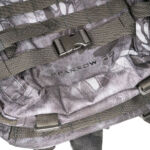
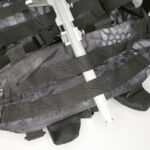
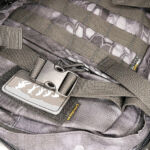
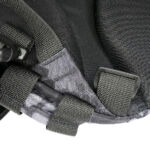
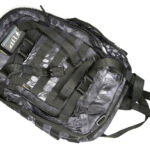
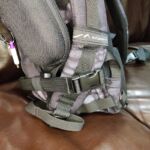
The Sparrow 16 shows how even a small bag, with a few extras on it, can have a pretty impressive carrying ability. Each side of the Sparrow 16 has a set of two compression straps with quick release buckles (as well as MOLLE panels). These make it easy to adapt the bag, stabilise the load or even strap on additional equipment or clothing.
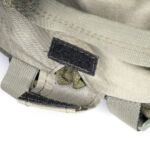
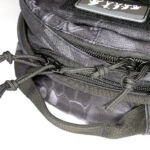
Even though it is a small bag, it has a good comfortable strong top strap. Under this strap is the hydration pouch tube port.


The carry straps:
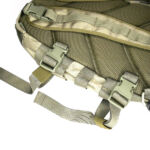
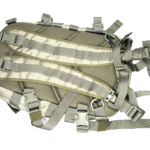
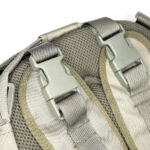
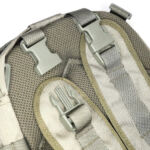
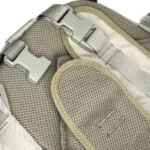
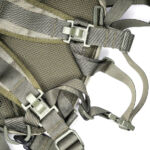
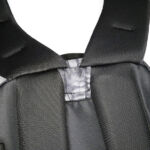
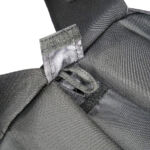
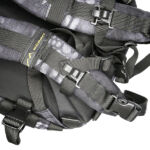
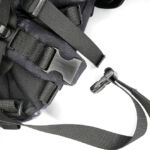
Despite being a small 16l bag, the Sparrow 16 has a lot of details in its design – the carry straps are no exception. Both shoulder straps are fully removable, not just one end of the strap, but both, can be unclipped. You can use remove one strap to make it a neat single shoulder bag (in the way many people carry a rucksack), or both and have a large organiser that you carry with the handle.
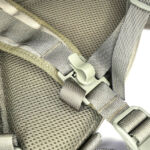
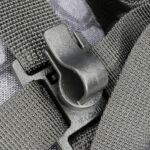
Even on this smaller bag there is a chest strap, and the hydration tube clips.


Compartments in the Sparrow 16:
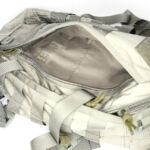
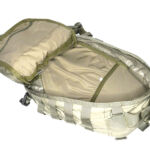
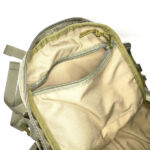
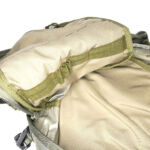
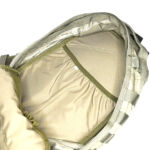
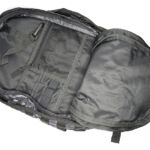
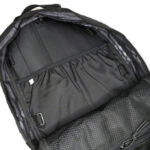
On the very front panel of the bag is a side zip accessed compartment, the same size as the whole front panel. Moving onto the main compartment, which has a full clamshell opening (once you undo the side straps). At the front of the main compartment is a zip up compartment, and below this is an elastic strap with loops for organising items. The back of the main compartment has a pocket with elastic edge, to hold a hydration pouch, or any other flat items.


Moving onto the Sparrow 20.
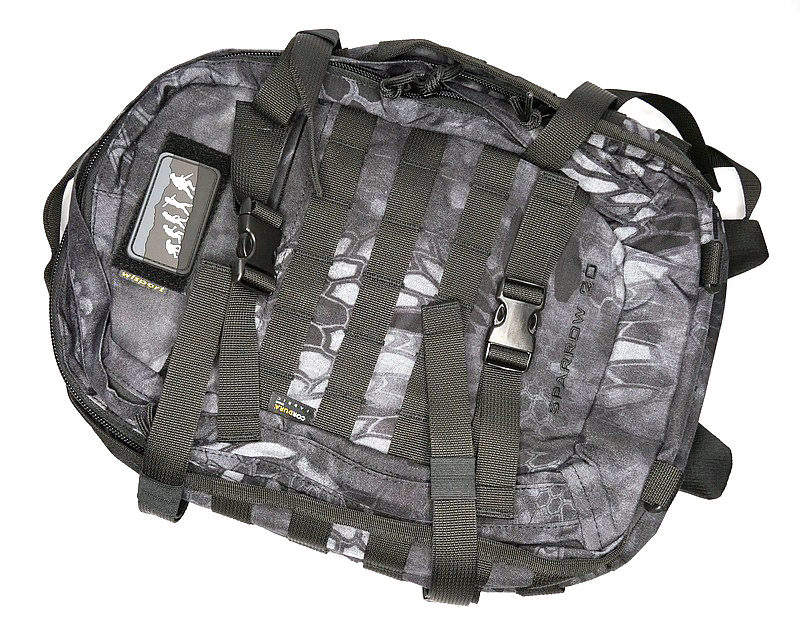
External features:
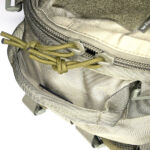
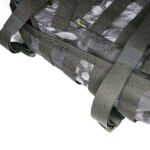
The Sparrow 20 steps up the ‘strappage’ to another level. Like the 16, each side has a set of two compression straps with quick release buckles (as well as MOLLE panels). The front panel has a further two compression straps with quick release buckles, and the base of the bag has both MOLLE webbing and a set of four attachment points for webbing of your own configuration. The front panel also has a top opening zip up compartment. It’s all topped off with a sturdy carry strap.


The carry straps:
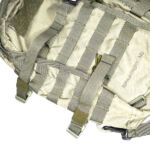
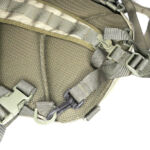
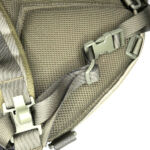
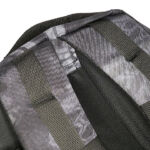
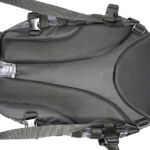
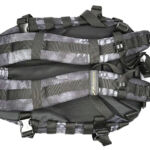
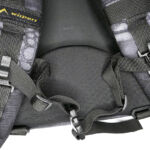
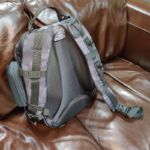
In the case of the sparrow 20, the shoulder straps are much more substantial, wider, and padded. The tops of the straps are fixed, but the bottom have quick release buckles to give you a quick exit from the straps when needed. Under the straps at the top of the back panel is the hydration tube port. The back panel has large padded contours and space for air to flow. At the bottom end of the shoulder straps there is an angled load spreader where it is fixed to the bag. Next to this, on either side, is a webbing attachment point that could be used for fitting a waist strap.
Hydration tube clips sit in the same place on the shoulder straps as the chest strap.


Compartments in the Sparrow 20:
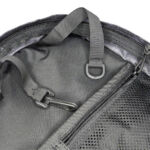
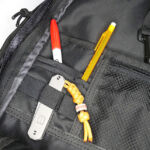
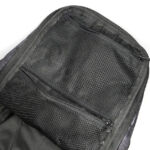
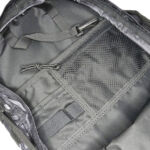
With the extra 4l in space comes a jump in equipment and more organisation. Starting on the front panel is a pocket for very quick and easy access. For the full clamshell opening of the front panel compartment you need to unclip the four side straps. Inside the front compartment is a clip hanger strap and a D-loop hanger strap (for keys and the like), a small organiser panel with pen pockets and elastic strap, a mesh zip up pocket, and an open pouch pocket.
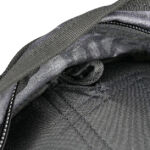
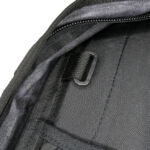
Moving into the main compartment, again with full clamshell opening, and the back has an elasticated pocket for a hydration pouch. Around this are four webbing attachment points so you can add further restraints. Covering the front of the main compartment are two zip-up mesh pockets.


What it is like to use?
To add more of the impression of these bags, this video takes a tour round both the Sparrow 16 and 20.

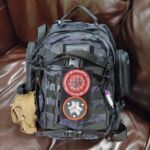
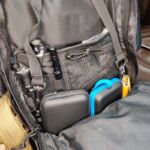
As the more ‘equipped’ of the two bags, the Sparrow 20 has stepped into my EDC while I develop the bug-out-bag system, so here is a quick look round the way I’m using it.
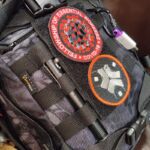
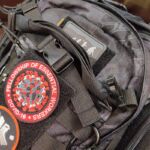
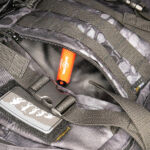
On the front panel I’ve added a MOLLE fixing patch panel to give me more room for velcro patches. There is a torch / flashlight slipped into the webbing to be immediately to hand, but with the top put under the strap above to hopefully stop it falling out by itself.
To keep the compression straps that I’m not currently using out of the way (so the compartments can be unzipped easily), I have actually laid these across each other and used the elastic loops on each strap to hold the other one in place. (Each strap was threaded into the elastic strap loop of the opposite strap.)
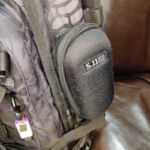
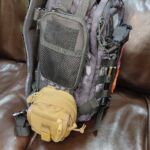
On one side panel is a MOLLE glasses case, and on the other are a further two MOLLE pouches. One of these takes my phone and the other has various small items I want within easy reach.
For my EDC use, I only use one of the shoulder straps to quickly pick it up and put it down. The other strap is held neatly out of the way by tucking it into the lower side compression strap.
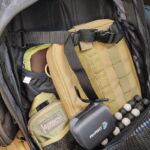
In the front compartment I have medication pouches, two more lights and a pen, plus many ‘useful’ items tucked into the mesh pouch and pocket.
Not being a fan of chest straps I removed this from the bag, however, inside the main compartment are some webbing attachment points, and here I have re-purposed the chest strap inside the main compartment to hold tall items in place. You can see a tablet case, large and small organiser pouches plus an action camera with mini tripod.


My initial temptation was to cut off a few of the Sparrow 20’s numerous straps to tidy it up. Unused straps can become more of a hindrance than a help. However, I stopped myself; currently the work-arounds I found for the various straps I wanted out of the way are working nicely.
The way I am EDCing the Sparrow 20 should show any potential shoulder strap issues quickly enough, especially considering I’ve made it quite heavy already. No signs of strain or overloading as yet.
So far these bags appear well made, strong and packed full of features.

Review Summary

The views expressed in this summary table are from the point of view of the reviewer’s personal use. I am not a member of the armed forces and cannot comment on its use beyond that covered in the review.

Something that might be a ‘pro’ for one user can be a ‘con’ for another, so the comments are categorised based on my requirements. You should consider all points and if they could be beneficial to you.

_______________________________________________
What doesn’t work so well for me
_______________________________________________

Almost too many straps.
Side straps can prevent easy opening of clamshell compartments.
Main zips a little ‘sticky’ (this may improve with use).

_______________________________________________
Things I like
_______________________________________________

Plenty of Webbing and Straps.
Good ‘organiser’ design features.
Break-out shoulder straps.
Strong top carry handle.
Hydration pouch compatible.
Main compartments have full clamshell opening.
Padded back.

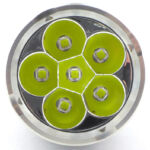
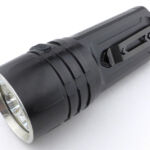
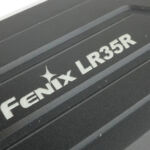
Fenix LR35R 10,000 lumen Pocket Searchlight

Can it be true? 10,000 lumens from a light you could fit in your pocket? In this review of the Fenix LR35R I put Fenix’s claimed output figures to the test. As well as this companion review there is a full length video review, with behind the scenes insights into the testing. It turns out that this light went beyond the limits of my test equipment and meant making modifications to allow an accurate reading to be taken.


Here is the video review:

INDEX:
00:00-01:20 Intro
01:20-07:31 Looking over the LR35R
07:31-13:28 Measuring parasitic drain
13:28-19:56 Troubleshooting – comparing cells
19:56-20:43 Troubleshooting – benchmark measurements for sensor modification
20:43-24:28 Modifying the integrating sphere
24:28-26:02 Results – USB charging
26:02-26:57 Results – Thermal imaging
26:57-30:40 Results – Runtime Graphs
30:40-32:11 Results – Beam shots
32:11-33:35 Summary


What is in the box?:
As this is a pre-production sample, there is no un-boxing as only the light was supplied.

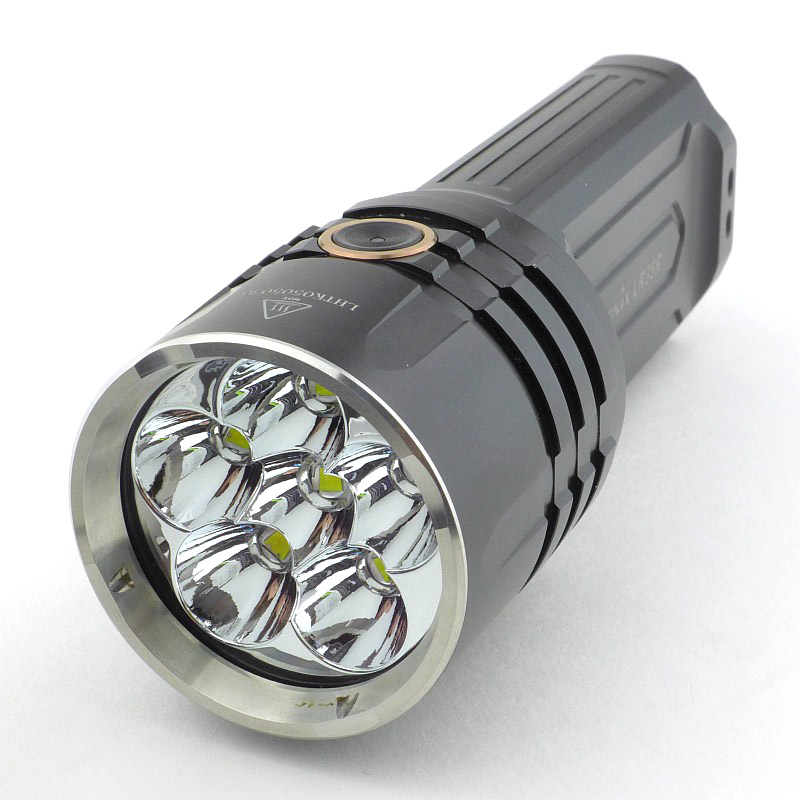
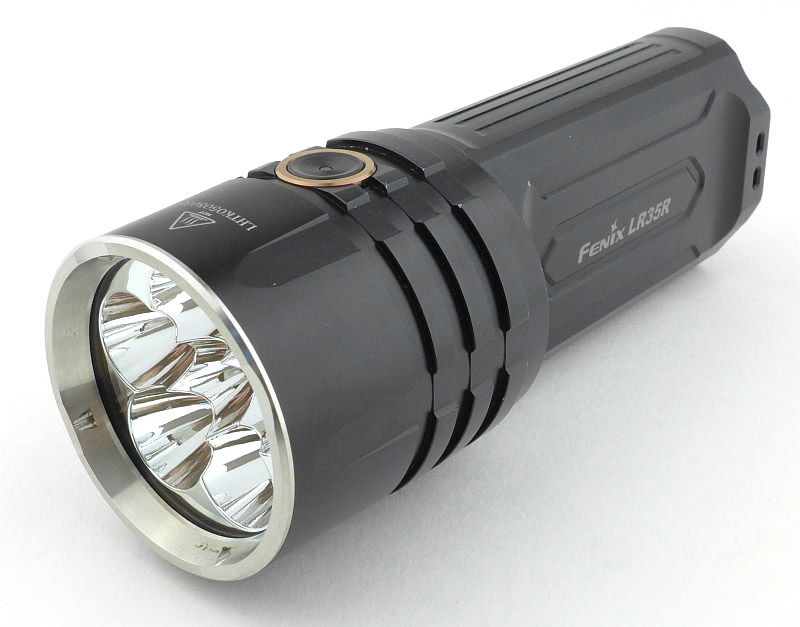
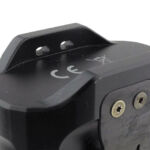
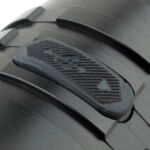
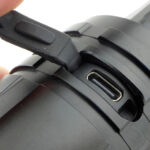
A good look round the LR35R – Things to look out for here are:
Be sure to check the video for many of these details.


The beam

Please be careful not to judge tint based on images you see on a computer screen. Unless properly calibrated, the screen itself will change the perceived tint.

The indoor beamshot is intended to give an idea of the beam shape/quality rather than tint. All beamshots are taken using daylight white balance. The woodwork (stairs and skirting) are painted Farrow & Ball “Off-White”, and the walls are a light sandy colour called ‘String’ again by Farrow & Ball. I don’t actually have a ‘white wall’ in the house to use for this, and my wife won’t have one!


Batteries and output:

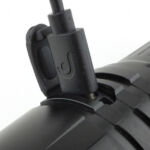
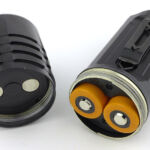
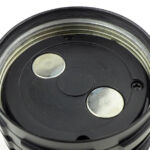
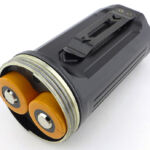
The LR35R runs on two 21700 cells which can be recharged in the light.

Please note, all quoted lumen figures are from a DIY integrating sphere, and according to ANSI standards. Although every effort is made to give as accurate a result as possible, they should be taken as an estimate only. The results can be used to compare outputs in this review and others I have published.

Before getting onto the output graphs, let’s quickly look at the USB charging graphs. Fenix have use a pulse charging approach which the three images show clearly. Peak charging current is 3A.


And the three runtime graphs which show the effect of the thermal regulation, and how this is countered with stronger cooling.


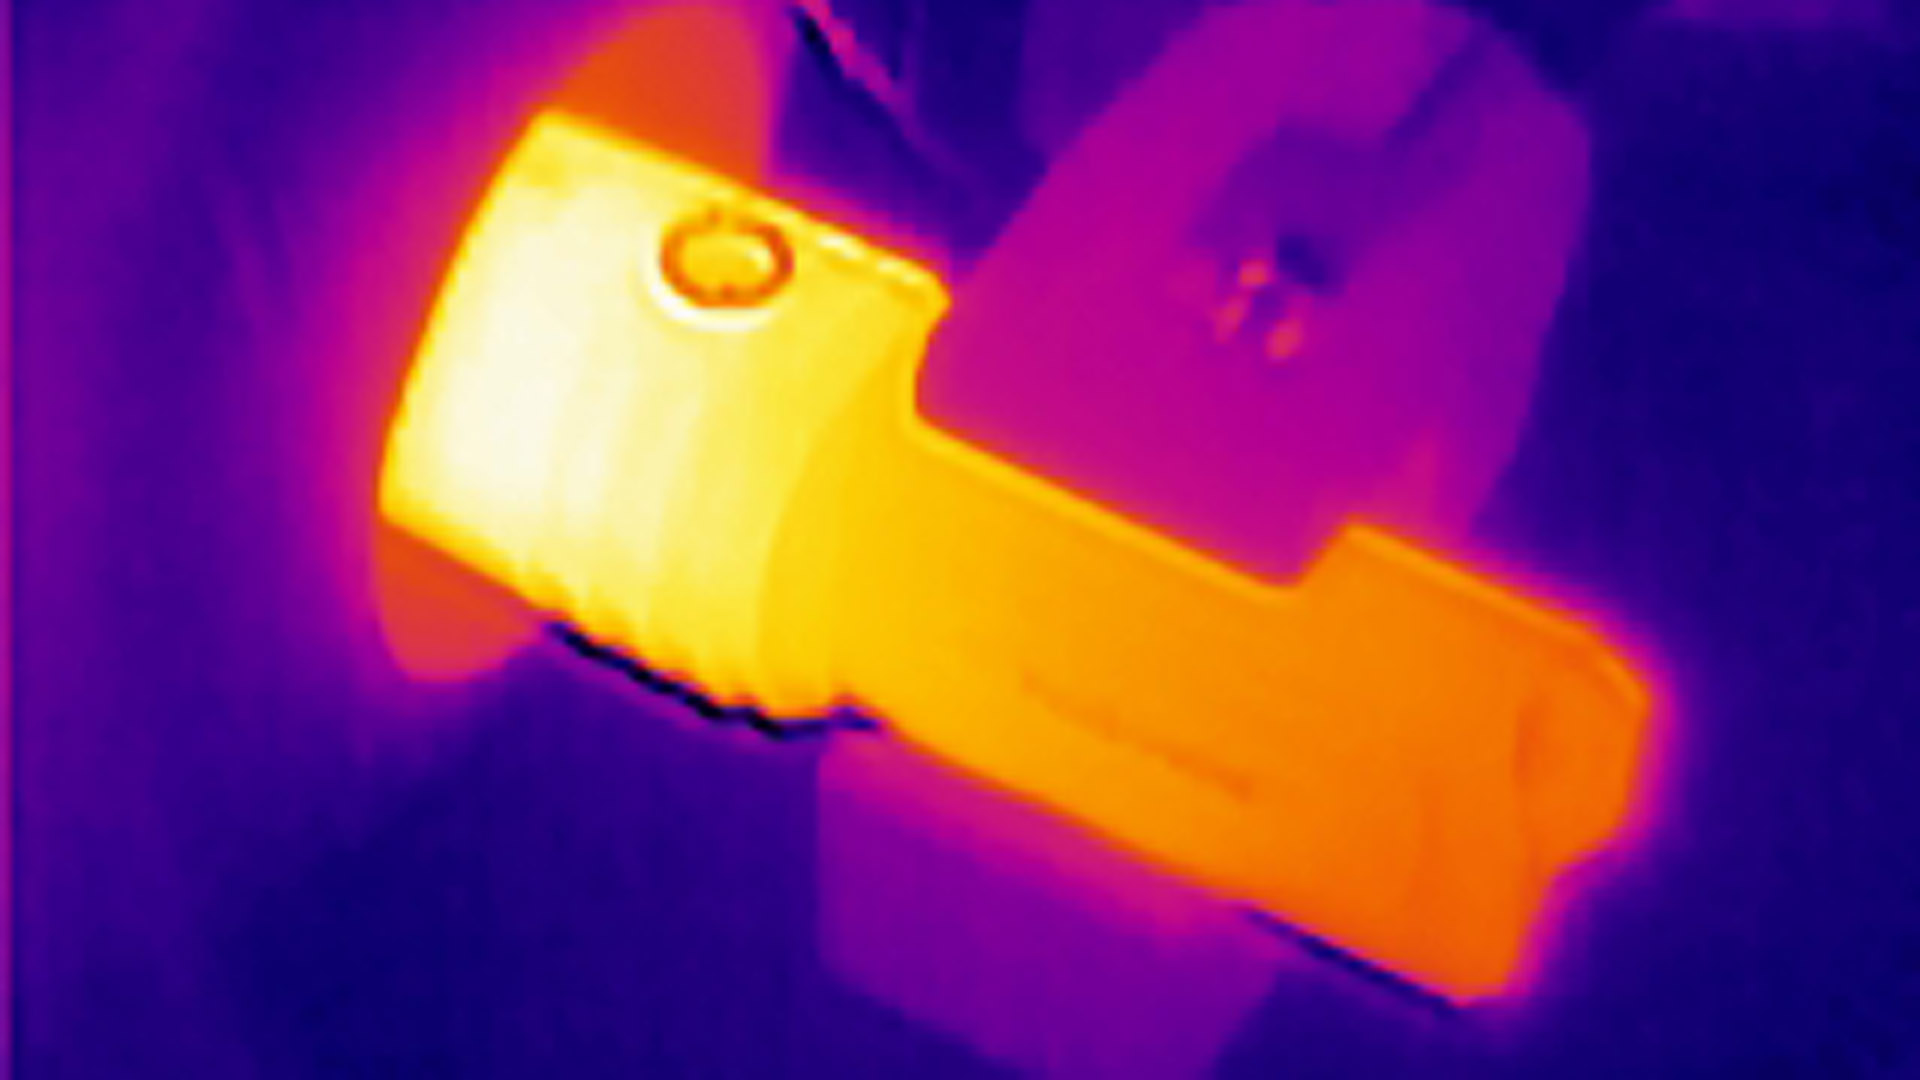
A thermal image taken during the runtime testing.

The LR35R in use

A real surprise that this output can be achieved in a light smaller than one of my old favourites, the TK35. It does heat up very quickly, and in normal use, hand held, the thermal regulation kicks in much faster than on the runtime graphs which had strong cooling.
The built in charging is very useful, especially as all the 21700 rated chargers I have would not take the long Fenix 21700 cells. It also means you don’t need anything else, and can swap the cells if needed.
As the LR35R is so small, I really wish Fenix had added a lower sub-lumen mode, as for me that would make it a fantastic all-rounder.
Be aware that the headline 10,000 lumens is only short lived, but if you take it down a notch or two, the performance is very very strong.
Beam tint and beam profile are very useable, and overall this is a powerhouse that is easy to live with.


Review Summary
The views expressed in this summary table are from the point of view of the reviewer’s personal use. I am not a member of the armed forces and cannot comment on its use beyond that covered in the review.

Something that might be a ‘pro’ for one user can be a ‘con’ for another, so the comments are categorised based on my requirements. You should consider all points and if they could be beneficial to you.

_______________________________________________
What doesn’t work so well for me
_______________________________________________

Lack of a sub-lumen mode.
Heats up very quickly.

_______________________________________________
Things I like
_______________________________________________

Hits that 10,000 lumen headline figure.
Very strong performance on High and Medium output.
Surprisingly compact.
USB-C charging built-in.
Comes with two high-capacity 21700 cells.
Great Beam tint and profile.

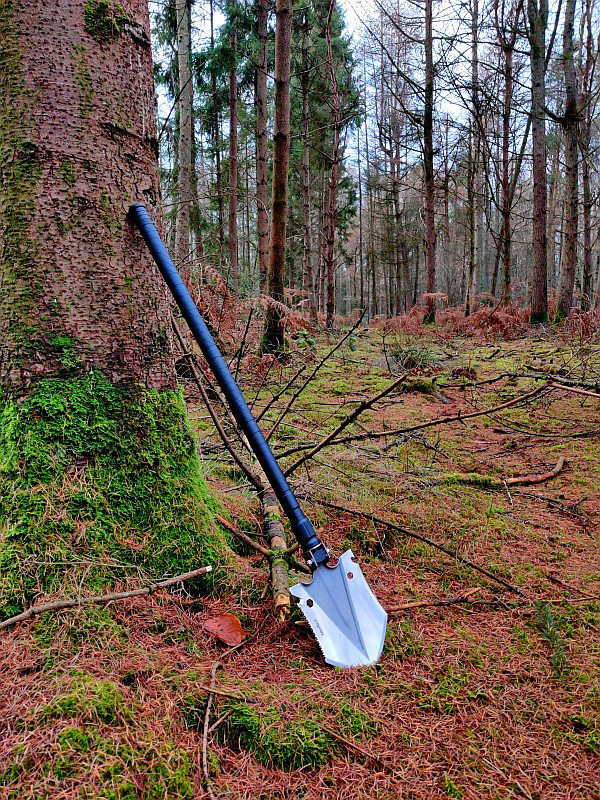
NexTool Frigate 14-in-1 Folding Shovel

When I first picked up the NexTool (14-in-1) ‘Frigate’ shovel I was struck by how solid it felt, this was no ordinary folding shovel. Large and substantial, with plenty of heft and leverage to make this a properly effective tool. With a head that can be set to multiple angles to enhance its digging ability, changing from a shovel to a grubbing hoe, and a few extra functions thrown in to make it even more useful. Keep reading this review of the NexTool Frigate 14-in-1 Folding Shovel for all the details.

A few more details:

What’s in the box?:

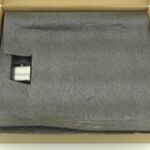
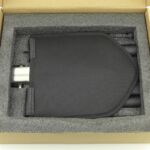
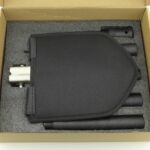
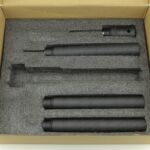
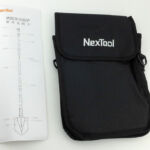
Revealing the contents layer by layer.


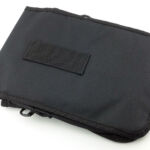
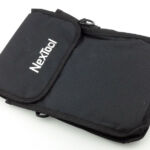
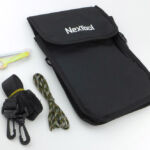
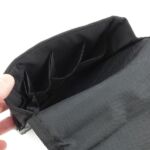
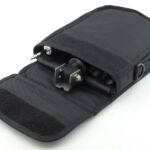
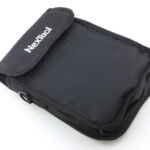
A good look round the carry case – Things to look out for here are:

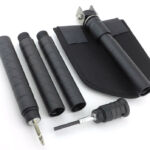
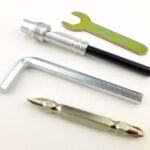
As well as the well provisioned case and carry strap, it is supplied with an Allen key and small spanner (to maintain the shovel’s folding mechanism) and some paracord. Inside are compartments for each section of the shovel.


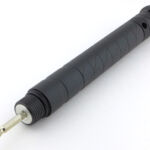
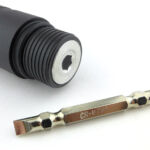
A good look over the handle and included tools – Things to look out for here are:

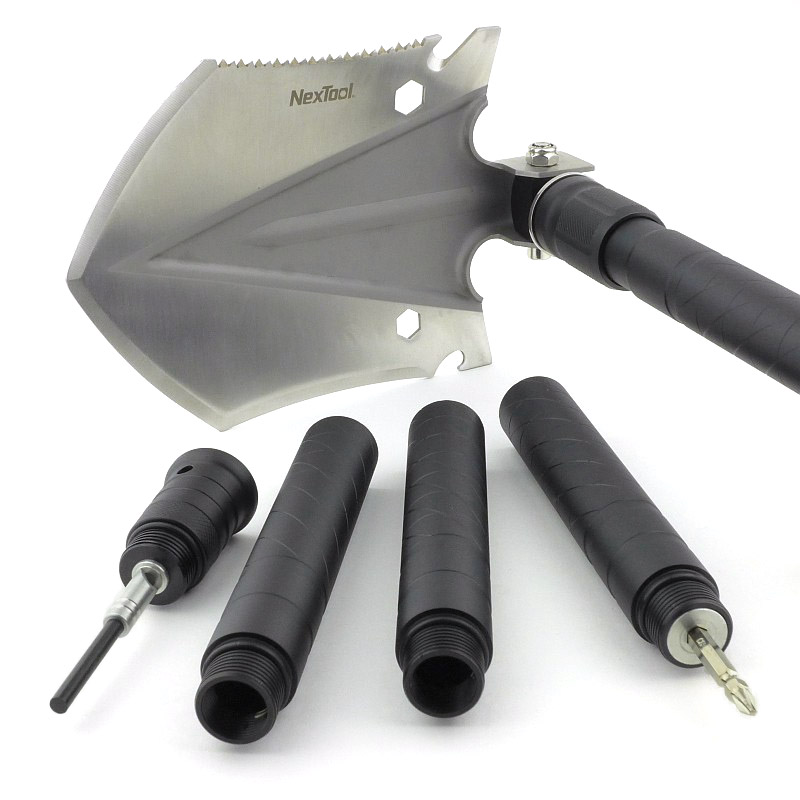
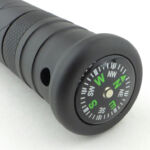
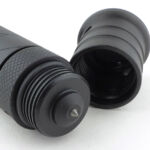
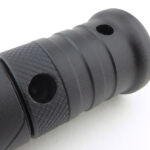
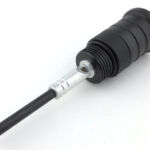
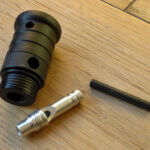
One handle section incorporates a standard magnetic hex screwdriver bit holder and comes with a double ended bit. The end-cap of the handle incorporates a fluid compass, and removing that end-cap reveals a glass-breaker spike. Unscrewing the glass breaker part reveals a dual purpose whistle and firesteel. The two other handle sections are simple empty tubes.


A good look round the head of the shovel – Things to look out for here are:

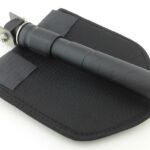
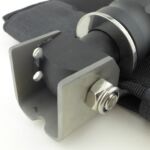
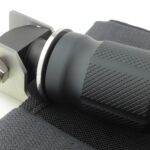
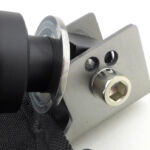
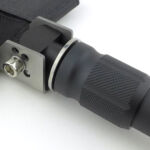
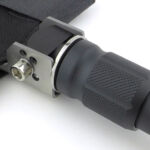
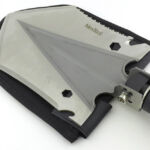
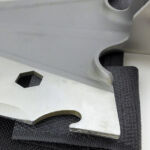
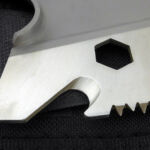
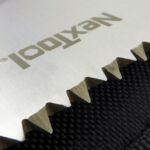
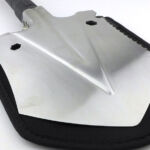
The main event, the head of the shovel. There is a protective slip covering the shovel head when packed away. A ball-detent system locates the head at one of three angles/positions, 45 degrees, 90 degrees open (from closed) and fully open. Once the head is located by the detent, a locking collar then secures the head in the chosen position. The shovel head has an incorporated saw, two spanners, a bottle opener and a line cutter. The side opposite the saw could be sharpened for chopping, but is not sharp as supplied.


What it is like to use?

I’ve split this section’s photos into two galleries as the first relates to some general observations and the second to the results of the actual testing.
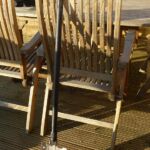
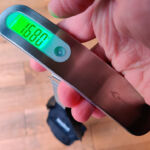
This first gallery is intended to give an impression of its portability and size. The fully packed tool weighs in at 1.68kg which is more than many folding shovels, so the important factor here is to decide how much work you are really going to do with it. Light weight shovels are great in most ways up until you have to use them, and may as well have a garden trowel. With that weight comes ability to do serious work. Look at the shovel leaning against a high-back garden chair, it is a size you can use standing up, you won’t need to be on your knees to dig.
The compartmentalised carry case ensures it easily all fits together and is surprisingly compact.


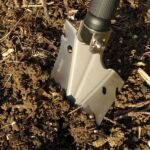
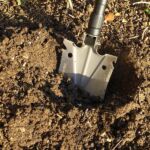
With the shovel begging to be used and do some serious work, I quickly came across a consideration and suggestion for anyone using this shovel – Take out all the ‘extras’ from inside the handle tubes and keep them separate.
The hex bit immediately comes out of the magnetic holder and then just bounces about. More annoyingly, the whistle and firesteel quickly shakes loose, falls into the tube and the firesteel will break. This is not a fault as such, but a practicality for when you start digging properly, so avoid the broken firesteel and annoying rattles, and just take these parts out before you start.
This is the most comfortable and effective folding shovel I have used. Its weight allows you to easily stab into the ground (as there is not a suitable surface to apply foot pressure) and then a long lever to make quick progress.


Personally I would not count on the additional functions but focus on the effectiveness of the shovel and its digging ability. The saw is useful for small notches, but not much more, and things like the spanners and bottle opener in the shovel blade might have use for prying and twisting jobs, but anything really needing these tools will want proper versions. Of course having is these functions is better than not having them.
Unlike some folding/telescopic shovels (that are less capable), the NexTool shovel becomes a little fussy when packing away. There is a separate shovel blade cover needed due to the saw, and the handle breaks down into a set of completely separate tubes. Depending on how far (or not) you travel each day, you might be leaving the full handle assembled and just fold the blade over for carry to your next camp site.
Having said this, the NexTool Frigate Shovel is actually a serious working tool, that can be packed down very neatly when you need to.

Review Summary

The views expressed in this summary table are from the point of view of the reviewer’s personal use.

Something that might be a ‘pro’ for one user can be a ‘con’ for another, so the comments are categorised based on my requirements. You should consider all points and if they could be beneficial to you.

_______________________________________________
What doesn’t work so well for me
_______________________________________________

Overall weight makes this a more considered carry.
Some extras (whistle/firesteel/screwdriver) need to be removed for digging.
Slightly fussy to pack.
_______________________________________________
Things I like
_______________________________________________

Seriously good at digging – far more so than most folding shovels.
Long handle makes digging while standing easy.
Very strong all metal build.
Takes-down into a very neat package.
Additional functions useful.