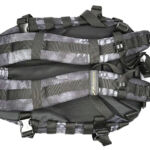
Wisport Sparrow 16 and 20 Rucksacks

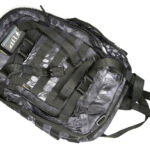
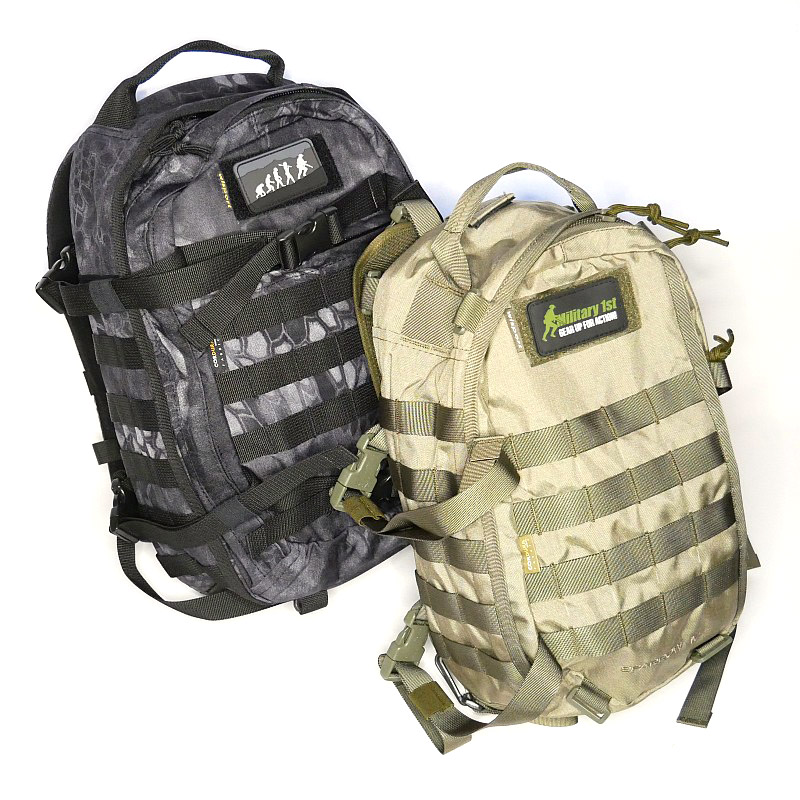
Inspired by a project to assemble an urban emergency grab-bag / evac-bag / bug-out-bag / go-kit using a maximum 20l rucksack, I chose the Wisport (from Military 1st) Sparrow 16 and 20 rucksacks. This review is to take a detailed look at these bags and their features. As well as the photo galleries there is also a video showing the features of each bag. (Keep an eye out for the emergency bag article, or subscribe for updates to make sure you get notified.)
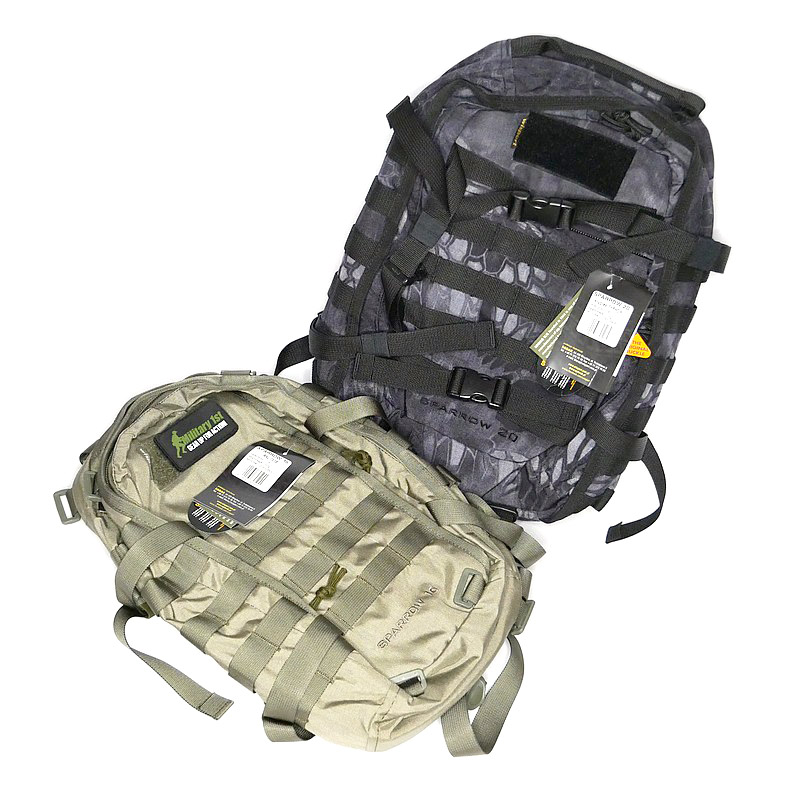
Diving into the details:
Starting with the smaller Sparrow 16 and the images are split into three galleries to cover the main external features, carry strap details, and the bag’s compartments.
External features:
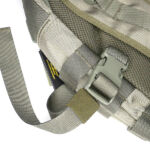
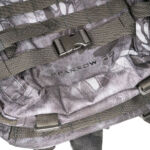
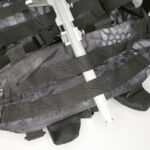
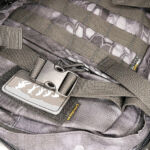
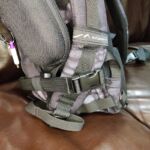
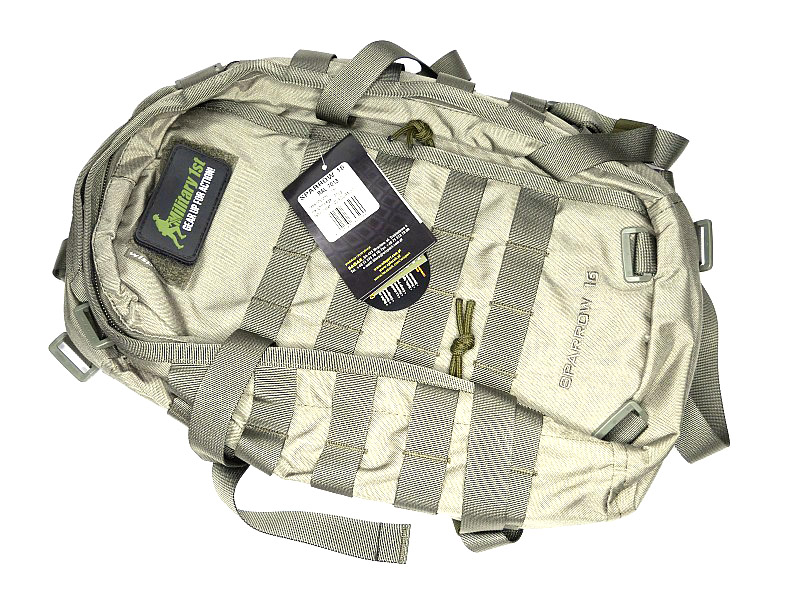
The Sparrow 16 shows how even a small bag, with a few extras on it, can have a pretty impressive carrying ability. Each side of the Sparrow 16 has a set of two compression straps with quick release buckles (as well as MOLLE panels). These make it easy to adapt the bag, stabilise the load or even strap on additional equipment or clothing.
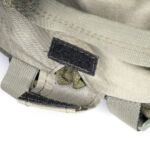
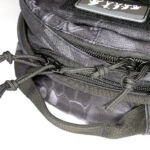
Even though it is a small bag, it has a good comfortable strong top strap. Under this strap is the hydration pouch tube port.


The carry straps:
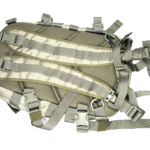
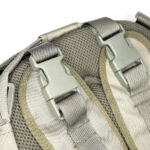
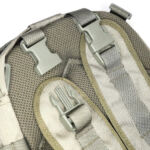
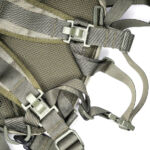
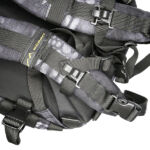
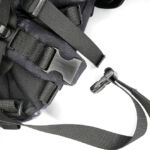
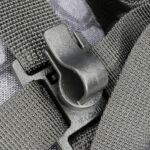
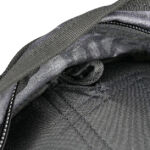
Despite being a small 16l bag, the Sparrow 16 has a lot of details in its design – the carry straps are no exception. Both shoulder straps are fully removable, not just one end of the strap, but both, can be unclipped. You can use remove one strap to make it a neat single shoulder bag (in the way many people carry a rucksack), or both and have a large organiser that you carry with the handle.
Even on this smaller bag there is a chest strap, and the hydration tube clips.


Compartments in the Sparrow 16:
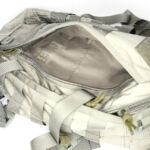
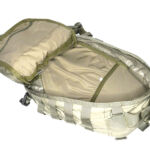
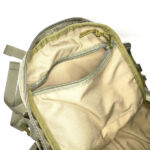
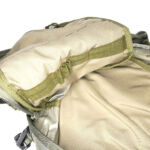
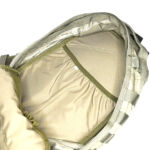
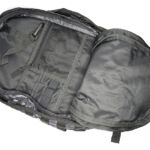
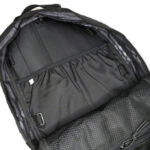
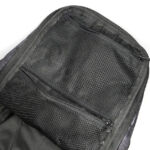
On the very front panel of the bag is a side zip accessed compartment, the same size as the whole front panel. Moving onto the main compartment, which has a full clamshell opening (once you undo the side straps). At the front of the main compartment is a zip up compartment, and below this is an elastic strap with loops for organising items. The back of the main compartment has a pocket with elastic edge, to hold a hydration pouch, or any other flat items.


Moving onto the Sparrow 20.
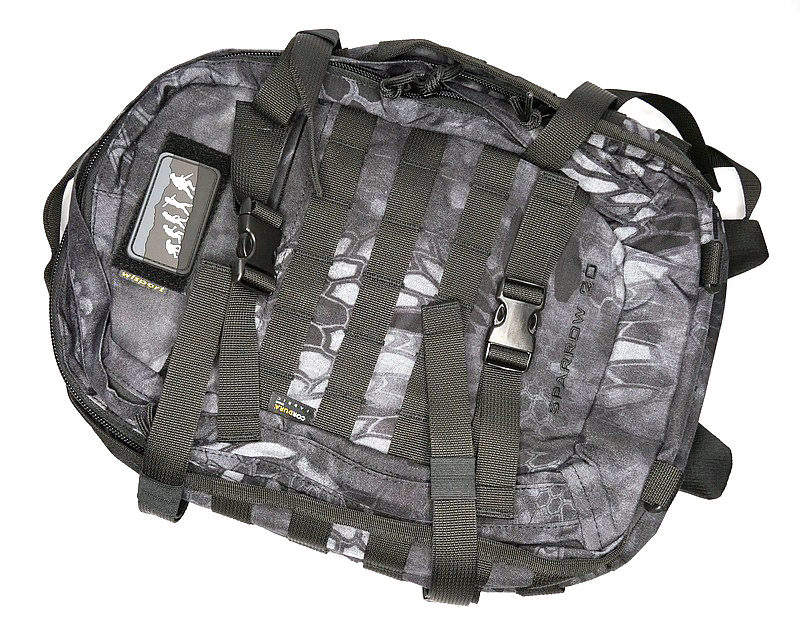
External features:
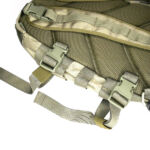
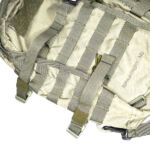
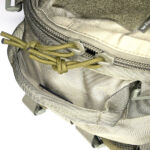
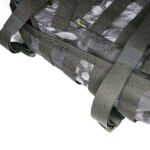
The Sparrow 20 steps up the ‘strappage’ to another level. Like the 16, each side has a set of two compression straps with quick release buckles (as well as MOLLE panels). The front panel has a further two compression straps with quick release buckles, and the base of the bag has both MOLLE webbing and a set of four attachment points for webbing of your own configuration. The front panel also has a top opening zip up compartment. It’s all topped off with a sturdy carry strap.


The carry straps:
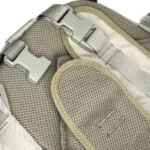
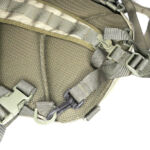
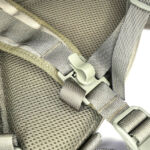
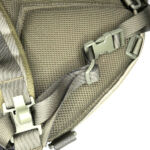
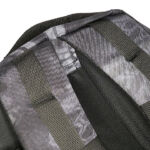
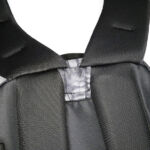
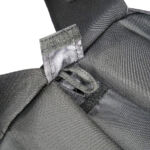
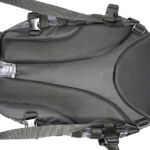
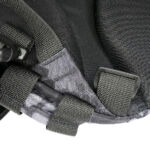
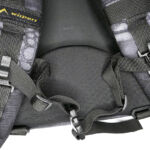
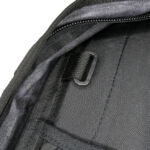
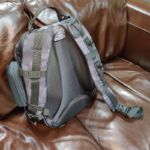
In the case of the sparrow 20, the shoulder straps are much more substantial, wider, and padded. The tops of the straps are fixed, but the bottom have quick release buckles to give you a quick exit from the straps when needed. Under the straps at the top of the back panel is the hydration tube port. The back panel has large padded contours and space for air to flow. At the bottom end of the shoulder straps there is an angled load spreader where it is fixed to the bag. Next to this, on either side, is a webbing attachment point that could be used for fitting a waist strap.
Hydration tube clips sit in the same place on the shoulder straps as the chest strap.


Compartments in the Sparrow 20:
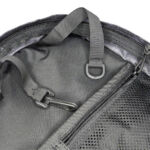
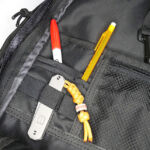
With the extra 4l in space comes a jump in equipment and more organisation. Starting on the front panel is a pocket for very quick and easy access. For the full clamshell opening of the front panel compartment you need to unclip the four side straps. Inside the front compartment is a clip hanger strap and a D-loop hanger strap (for keys and the like), a small organiser panel with pen pockets and elastic strap, a mesh zip up pocket, and an open pouch pocket.
Moving into the main compartment, again with full clamshell opening, and the back has an elasticated pocket for a hydration pouch. Around this are four webbing attachment points so you can add further restraints. Covering the front of the main compartment are two zip-up mesh pockets.


What it is like to use?
To add more of the impression of these bags, this video takes a tour round both the Sparrow 16 and 20.

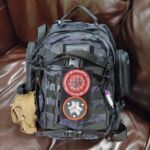
As the more ‘equipped’ of the two bags, the Sparrow 20 has stepped into my EDC while I develop the bug-out-bag system, so here is a quick look round the way I’m using it.
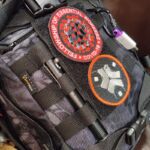
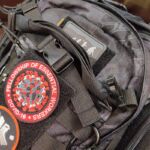
On the front panel I’ve added a MOLLE fixing patch panel to give me more room for velcro patches. There is a torch / flashlight slipped into the webbing to be immediately to hand, but with the top put under the strap above to hopefully stop it falling out by itself.
To keep the compression straps that I’m not currently using out of the way (so the compartments can be unzipped easily), I have actually laid these across each other and used the elastic loops on each strap to hold the other one in place. (Each strap was threaded into the elastic strap loop of the opposite strap.)
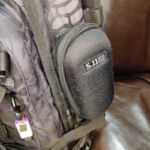
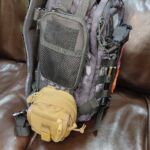
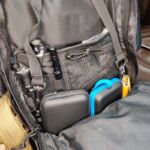
On one side panel is a MOLLE glasses case, and on the other are a further two MOLLE pouches. One of these takes my phone and the other has various small items I want within easy reach.
For my EDC use, I only use one of the shoulder straps to quickly pick it up and put it down. The other strap is held neatly out of the way by tucking it into the lower side compression strap.
In the front compartment I have medication pouches, two more lights and a pen, plus many ‘useful’ items tucked into the mesh pouch and pocket.
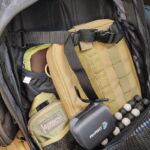
Not being a fan of chest straps I removed this from the bag, however, inside the main compartment are some webbing attachment points, and here I have re-purposed the chest strap inside the main compartment to hold tall items in place. You can see a tablet case, large and small organiser pouches plus an action camera with mini tripod.


My initial temptation was to cut off a few of the Sparrow 20’s numerous straps to tidy it up. Unused straps can become more of a hindrance than a help. However, I stopped myself; currently the work-arounds I found for the various straps I wanted out of the way are working nicely.
The way I am EDCing the Sparrow 20 should show any potential shoulder strap issues quickly enough, especially considering I’ve made it quite heavy already. No signs of strain or overloading as yet.
So far these bags appear well made, strong and packed full of features.

Review Summary

The views expressed in this summary table are from the point of view of the reviewer’s personal use. I am not a member of the armed forces and cannot comment on its use beyond that covered in the review.

Something that might be a ‘pro’ for one user can be a ‘con’ for another, so the comments are categorised based on my requirements. You should consider all points and if they could be beneficial to you.

_______________________________________________
What doesn’t work so well for me
_______________________________________________

Almost too many straps.
Side straps can prevent easy opening of clamshell compartments.
Main zips a little ‘sticky’ (this may improve with use).

_______________________________________________
Things I like
_______________________________________________

Plenty of Webbing and Straps.
Good ‘organiser’ design features.
Break-out shoulder straps.
Strong top carry handle.
Hydration pouch compatible.
Main compartments have full clamshell opening.
Padded back.

Wiley X Captivate Lenses (Models shown – Contend, Peak and Breach)

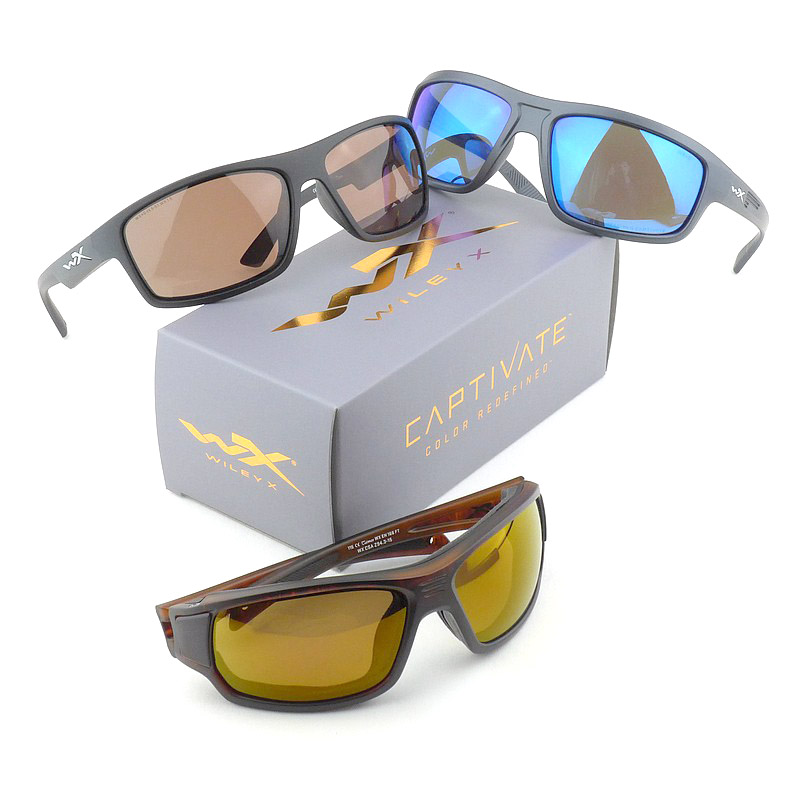
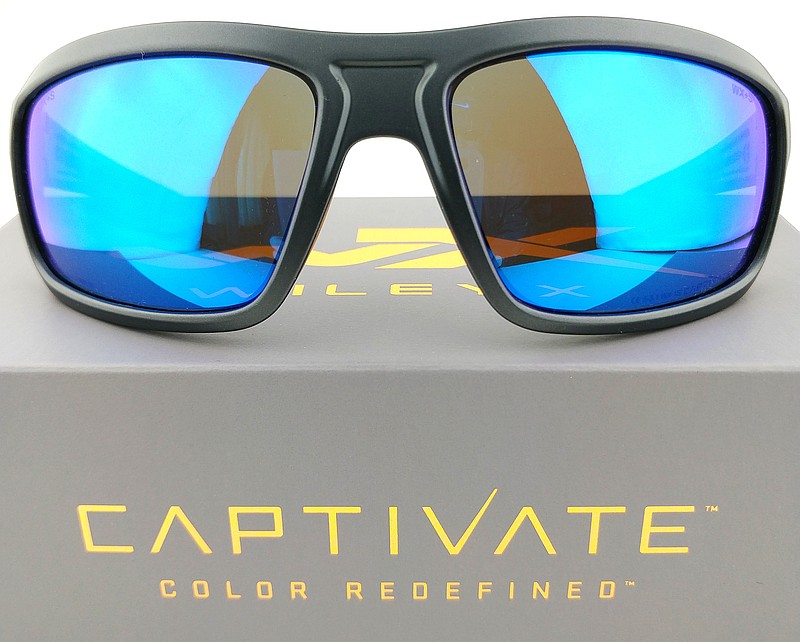
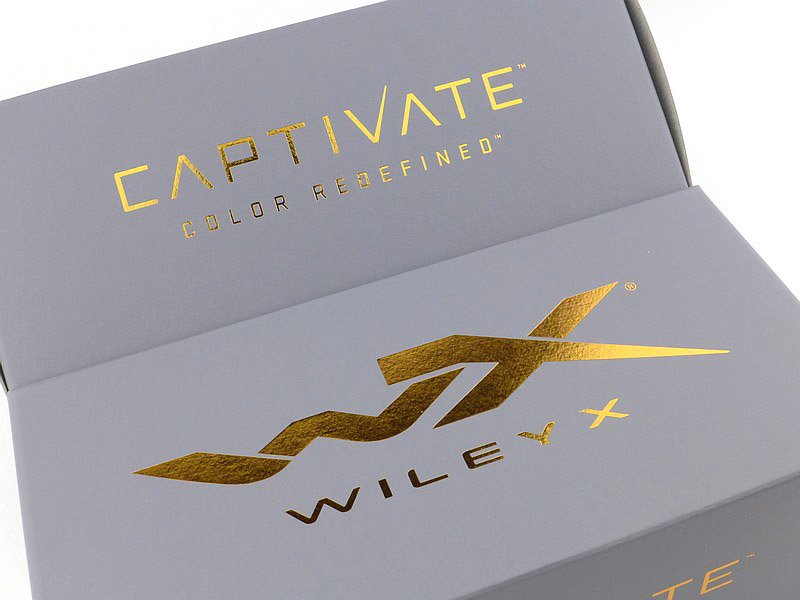
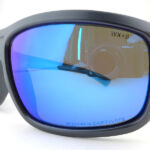
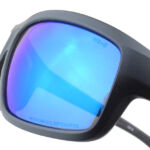
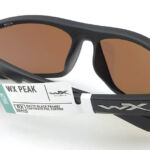
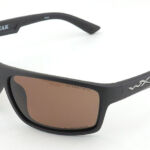
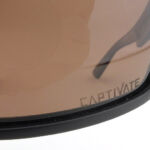
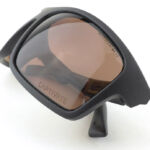
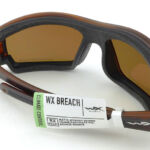
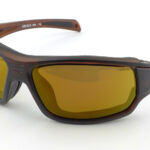
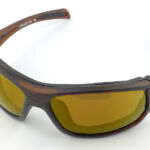
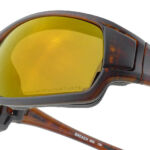
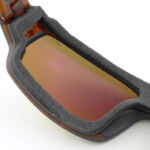
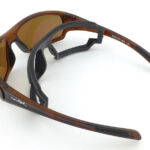
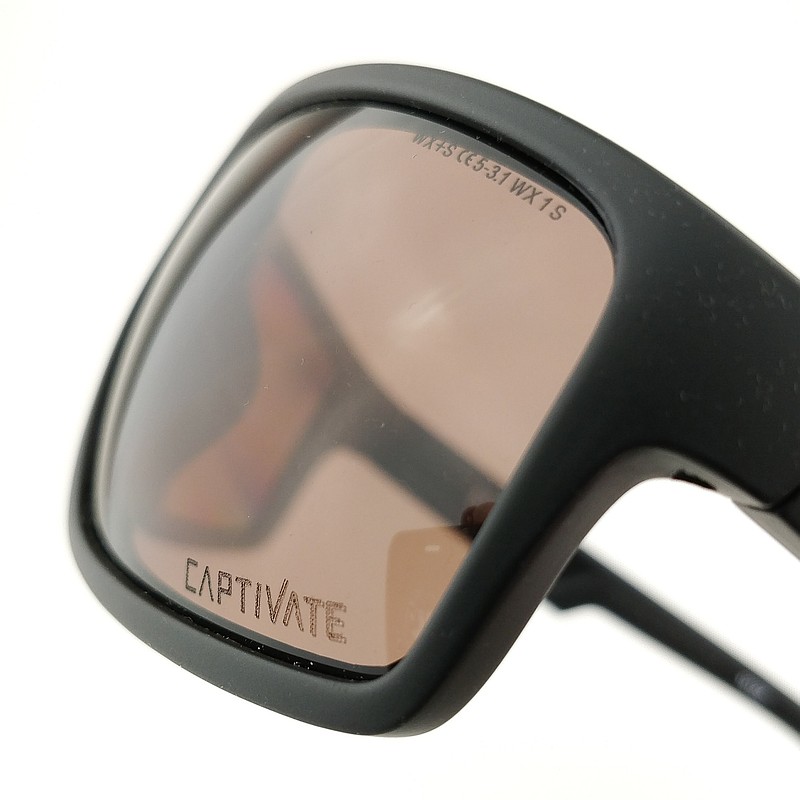
In this review, it’s all about a lens; a new Wiley X lens. As someone who relies daily on the best quality sunglasses, but that also needs EN. 166 & ANSI Z87.1 safety standards, Wiley X has been my go-to brand and has never let me down. I also, in most cases, prefer polarized lenses for glare reduction and enhancing colour depth. Wiley X have now produced a further enhancement to the polarized lens by increasing colour contrast with the CAPTIVATE lens. In this review the focus is primarily on this new lens itself, but can be seen in three of the first models to feature the lens; Contend, Peak and Breach (which also has the gasket technology).

What’s in the box?:


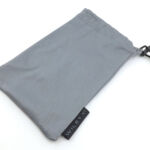
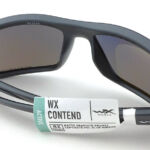
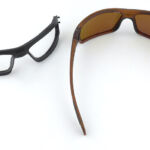
Here is what is included for all three models.


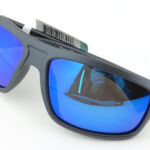
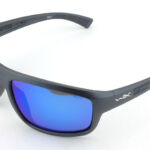
A look round the Contend:
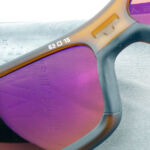
This ‘Contend’ has the Blue mirror version of the CAPTIVATE lens.


A look round the Peak:
For the ‘Peak’ it is the Copper CAPTIVATE lens.


A look round the Breach:
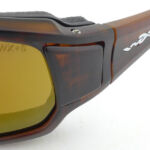
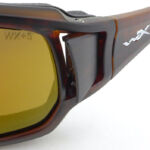
Lastly the ‘Breach’ has the Bronze Mirror CAPTIVATE lens. Also look out for the gasket, and in this model, the side vents that can be opened and closed as required.


What is the CAPTIVATE lens like to use?

First impressions? That is actually very difficult to describe when you go from one of Wiley X’s already superb polarized lenses to the new enhanced CAPTIVATE polarized lens. Between one Wiley X polarized lens and the CAPTIVATE lens, is there a marked difference? It is simply not possible for there to be a massive difference. Instead it has taken a longer period of use to really appreciate the improvement, as I have now experienced a wide range or lighting conditions and locations with differing colour ranges.

None of the lens versions on test are completely neutral, so all give a slight colour cast to the overall rendition of what you see. This is one aspect of the eyewear we choose that adds an extra dimension and allows us to see more and differently than without any lens.

Since getting to know the new CAPTIVATE lens, I’ve been trying to work out how to best show what this lens does, and am still no satisfied, but here goes with my attempt.

Bear in mind, that like all of our senses, we have our own built in ‘automatic balance’, so like a camera has a White Balance setting, and this can be set to Auto White Balance, our eyes also do this to some degree, and after wearing a lens for a period of time our eyes adjust to them.

Coming from daily use of Wiley X lenses already, first impressions were of an excellent lens, but could I see what made them different? Over time, and with swapping back to the standard polarized lens, the answer was yes. What I was seeing through the CAPTIVATE lens was clearer and more defined. It was subtle, but the impression was of sharper edges, and a higher clarity. As we are seeing objects which don’t typically have a ‘border’ or ‘outline’ in a different colour, we are seeing the edge of an object as its colour meets the next background or object colour.

The intent of the CAPTIVATE lens is for it to reduce light in the parts of the light spectrum where Blue merges with Green, and where Green merges with Red so that you see a more significant difference between blue/green and green/red boundaries.

This is not done to such an extent that you can’t see certain shades, but so that you have an impression of higher contrast between colours. As I said before, this is not so marked you put them on and see something so unreal, but rather that with more use you can appreciate how clearly you are seeing your surroundings.

In an attempt to show the effect of these lenses, I am including two galleries with photographs taken through the different lenses. In the first set, the camera is set to a fixed Daylight White Balance (so is not adjusting the colour balance), and in the second set the camera is set to Auto White Balance to try to introduce some of the acclimatisation our eyes have.

There is a control shot first with no lens in front of the camera, then the three different models.

Daylight White Balance set


Auto White Balance set
This is the set I feel, more closely represents what your eyes see (but not exactly) for each lens type. The stand-out photo is probably the one of the metal cover in a pavement which has weeds growing round it and when you go from the control shot to the Contend lens. The green really stands out.
Another characteristic I like about the Bronze Mirror lens in the Breach was how it gave a pleasing deep bronze cast to the rusted metal surfaces in road furniture (manhole covers etc).


Review Summary

The views expressed in this summary table are from the point of view of the reviewer’s personal use. I am not a member of the armed forces and cannot comment on its use beyond that covered in the review.

Something that might be a ‘pro’ for one user can be a ‘con’ for another, so the comments are categorised based on my requirements. You should consider all points and if they could be beneficial to you.

_______________________________________________
What doesn’t work so well for me
_______________________________________________

Sorry, not being biased, but really nothing.

_______________________________________________
Things I like
_______________________________________________

Lens quality.
The clarity of vision.
Subtle effect of the enhanced colour contrast.
Strong and comfortable frames.
More innovation from Wiley X.

NexTool Frigate 14-in-1 Folding Shovel

When I first picked up the NexTool (14-in-1) ‘Frigate’ shovel I was struck by how solid it felt, this was no ordinary folding shovel. Large and substantial, with plenty of heft and leverage to make this a properly effective tool. With a head that can be set to multiple angles to enhance its digging ability, changing from a shovel to a grubbing hoe, and a few extra functions thrown in to make it even more useful. Keep reading this review of the NexTool Frigate 14-in-1 Folding Shovel for all the details.

A few more details:

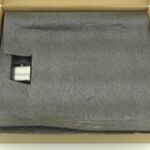
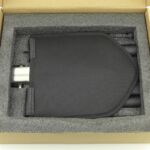
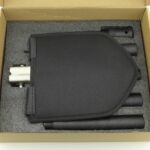
What’s in the box?:

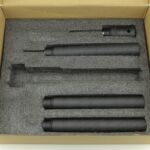
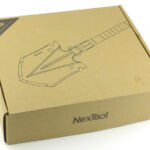
Revealing the contents layer by layer.


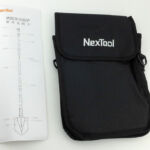
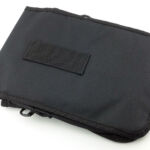
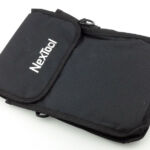
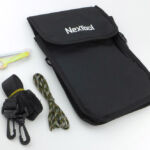
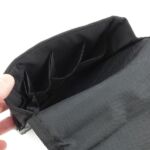
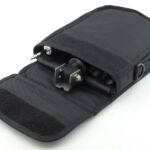
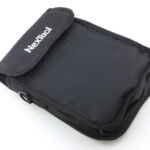
A good look round the carry case – Things to look out for here are:

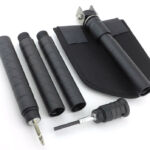
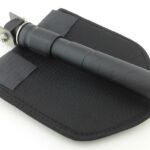
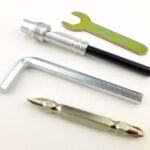
As well as the well provisioned case and carry strap, it is supplied with an Allen key and small spanner (to maintain the shovel’s folding mechanism) and some paracord. Inside are compartments for each section of the shovel.


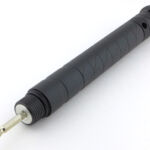
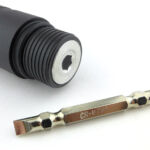
A good look over the handle and included tools – Things to look out for here are:

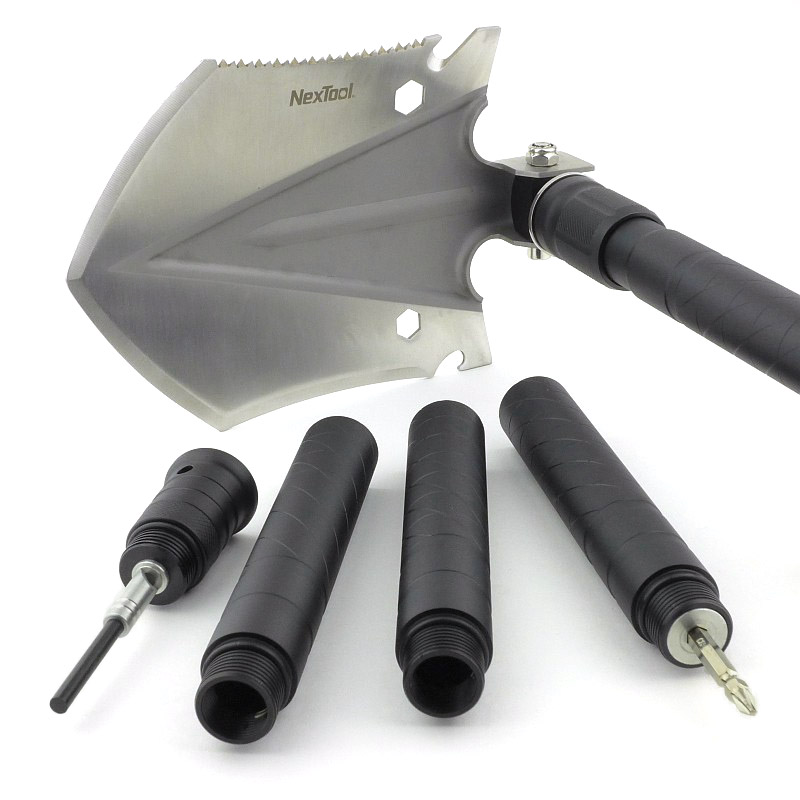
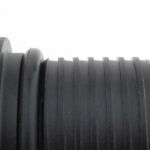
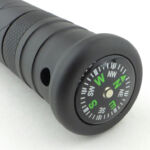
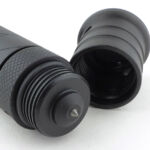
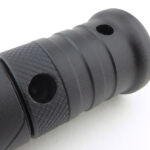
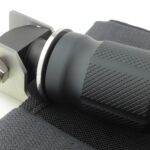
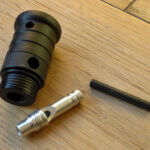
One handle section incorporates a standard magnetic hex screwdriver bit holder and comes with a double ended bit. The end-cap of the handle incorporates a fluid compass, and removing that end-cap reveals a glass-breaker spike. Unscrewing the glass breaker part reveals a dual purpose whistle and firesteel. The two other handle sections are simple empty tubes.


A good look round the head of the shovel – Things to look out for here are:

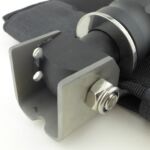
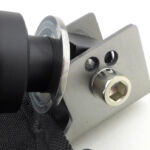
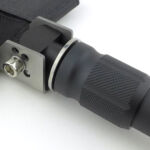
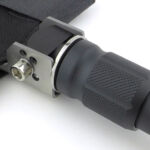
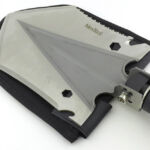
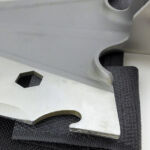
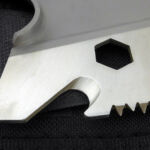
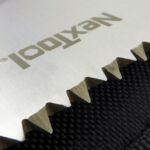
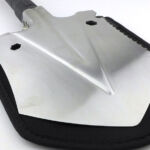
The main event, the head of the shovel. There is a protective slip covering the shovel head when packed away. A ball-detent system locates the head at one of three angles/positions, 45 degrees, 90 degrees open (from closed) and fully open. Once the head is located by the detent, a locking collar then secures the head in the chosen position. The shovel head has an incorporated saw, two spanners, a bottle opener and a line cutter. The side opposite the saw could be sharpened for chopping, but is not sharp as supplied.


What it is like to use?

I’ve split this section’s photos into two galleries as the first relates to some general observations and the second to the results of the actual testing.
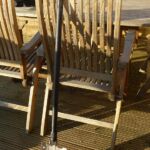
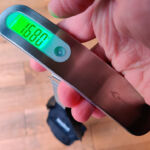
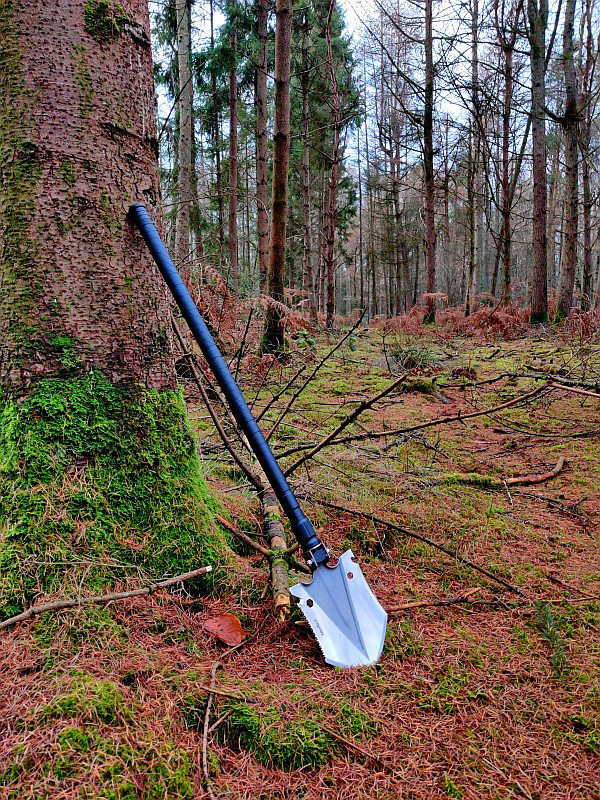
This first gallery is intended to give an impression of its portability and size. The fully packed tool weighs in at 1.68kg which is more than many folding shovels, so the important factor here is to decide how much work you are really going to do with it. Light weight shovels are great in most ways up until you have to use them, and may as well have a garden trowel. With that weight comes ability to do serious work. Look at the shovel leaning against a high-back garden chair, it is a size you can use standing up, you won’t need to be on your knees to dig.
The compartmentalised carry case ensures it easily all fits together and is surprisingly compact.


With the shovel begging to be used and do some serious work, I quickly came across a consideration and suggestion for anyone using this shovel – Take out all the ‘extras’ from inside the handle tubes and keep them separate.
The hex bit immediately comes out of the magnetic holder and then just bounces about. More annoyingly, the whistle and firesteel quickly shakes loose, falls into the tube and the firesteel will break. This is not a fault as such, but a practicality for when you start digging properly, so avoid the broken firesteel and annoying rattles, and just take these parts out before you start.
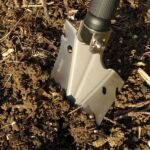
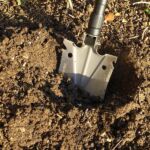
This is the most comfortable and effective folding shovel I have used. Its weight allows you to easily stab into the ground (as there is not a suitable surface to apply foot pressure) and then a long lever to make quick progress.


Personally I would not count on the additional functions but focus on the effectiveness of the shovel and its digging ability. The saw is useful for small notches, but not much more, and things like the spanners and bottle opener in the shovel blade might have use for prying and twisting jobs, but anything really needing these tools will want proper versions. Of course having is these functions is better than not having them.
Unlike some folding/telescopic shovels (that are less capable), the NexTool shovel becomes a little fussy when packing away. There is a separate shovel blade cover needed due to the saw, and the handle breaks down into a set of completely separate tubes. Depending on how far (or not) you travel each day, you might be leaving the full handle assembled and just fold the blade over for carry to your next camp site.
Having said this, the NexTool Frigate Shovel is actually a serious working tool, that can be packed down very neatly when you need to.

Review Summary

The views expressed in this summary table are from the point of view of the reviewer’s personal use.

Something that might be a ‘pro’ for one user can be a ‘con’ for another, so the comments are categorised based on my requirements. You should consider all points and if they could be beneficial to you.

_______________________________________________
What doesn’t work so well for me
_______________________________________________

Overall weight makes this a more considered carry.
Some extras (whistle/firesteel/screwdriver) need to be removed for digging.
Slightly fussy to pack.
_______________________________________________
Things I like
_______________________________________________

Seriously good at digging – far more so than most folding shovels.
Long handle makes digging while standing easy.
Very strong all metal build.
Takes-down into a very neat package.
Additional functions useful.